I have plenty of military issue gear but that stuff is really just on loan from Uncle Sam. Nearly all of it will be returned to him when I separate from my Military service. While deployed in Kuwait I took the opportunity t use some of my deployment money to start to build up my own gear for myself.
I'm still figuring things out so my equipment will be in flux for a bit until I get things finalized but I thought I would at least share what I now have. Maybe sharing what I have will help someone else pick out theirs or at least give them some ideas of what is out there and why I choose the things that I do. Choosing your load out is a very personal choice, one that could cost you quite a bit if you are not sure of what you are getting. Some folks choose modern ultra light weight stuff, some go Military surplus and some go old school traditional with items made from wool, canvas, leather etc... My style so far is military surplus for the most part simply because that is the gear I know. I have preference to go for Olive Drab (OD) rather than the more current ACU/ UCP pattern.
I will go in to some detail as to why I have what I do just to give you my thoughts and process for gear selection.

Anyway in the pick is the Ruck, as I mentioned. Directly under the ruck is a Hydrastorm 100 oz. hydration pack. Usually I strap something like this to the back of the ruck during a hike and then strap it on me when I drop the ruck and move about.
Sitting near the upper left of the ruck is my old Military 3 fold medic bag which I continue t use as a large first aid kit. I had this with us on out BWCA trip and gladly didn't need it. I am looking for a smaller pouch to make an individual first aid kit (IFAK) to mount on the ruck itself. I ill save the contents of the first aid bag for another post.
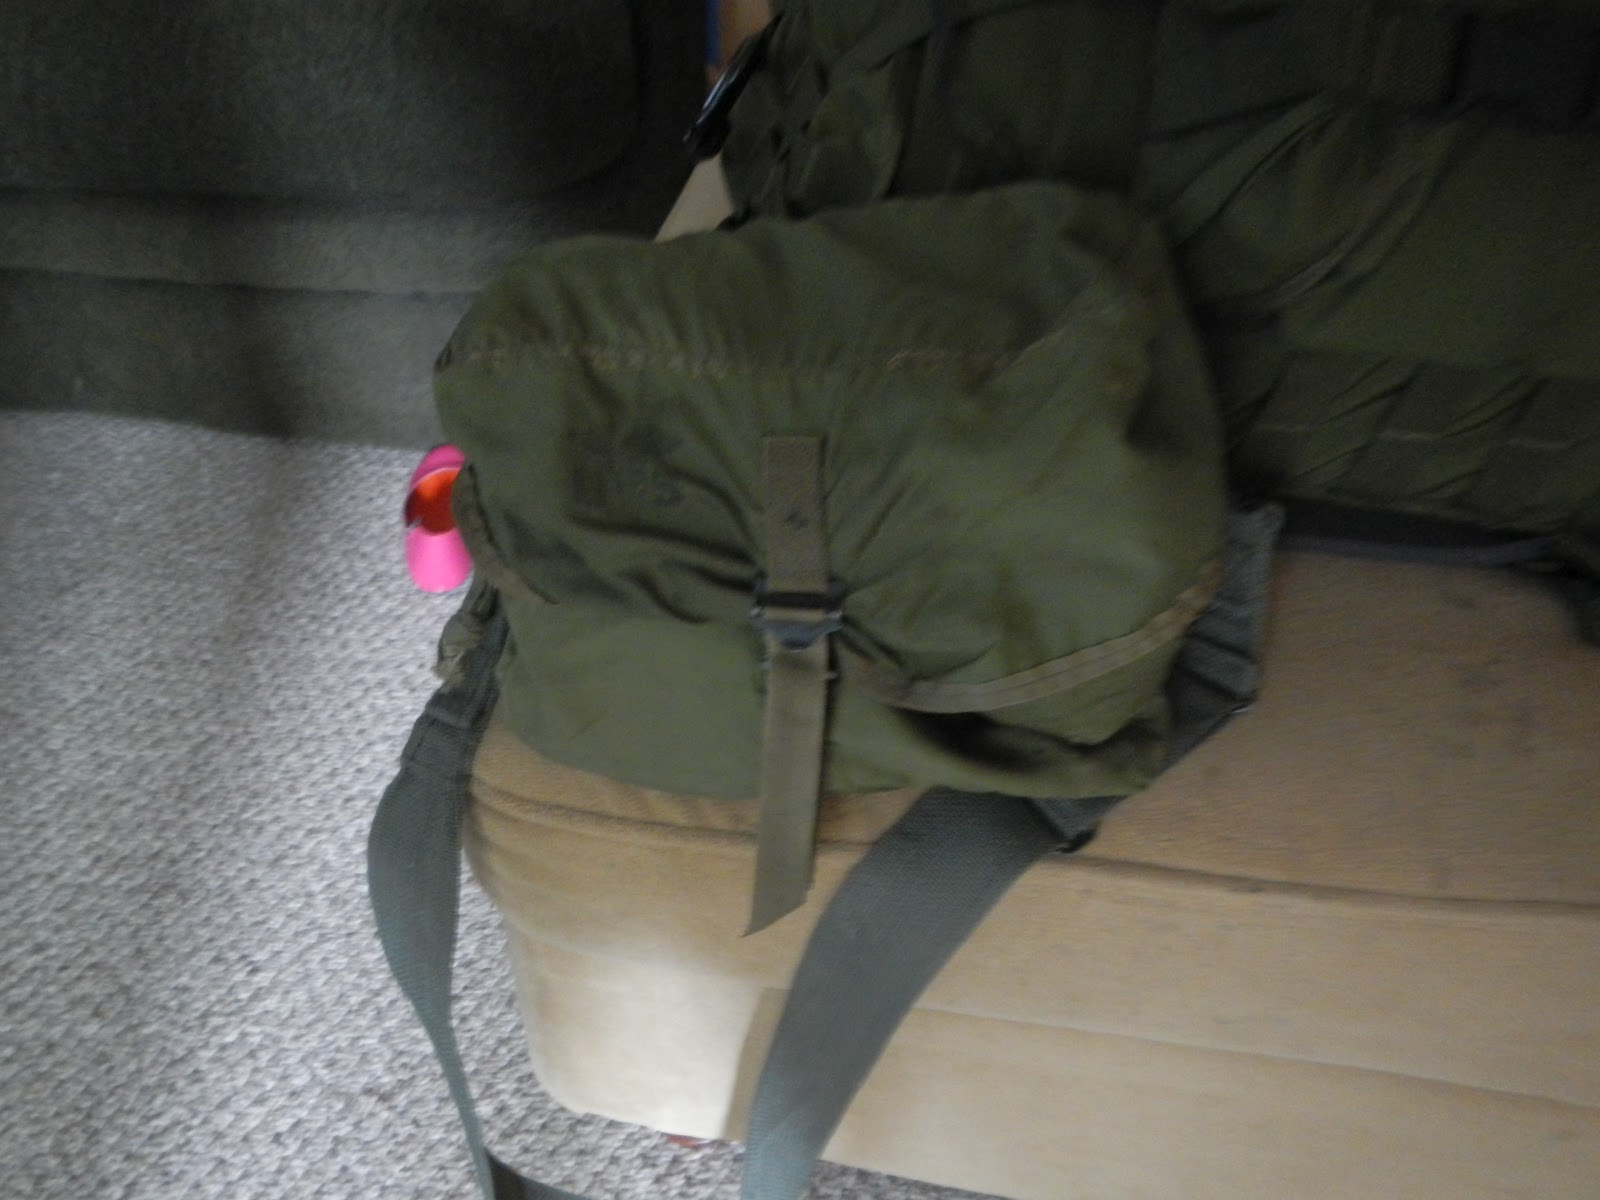
Sitting at the upper right is my Finn gas mask bag set up for a day trip, well mostly set up for one.
Military Tri-fold Medic bag

Finn Gas Mask Bag
So there are the bags themselves, now I will show you the contents starting with the outside pockets of the rucksack.
Right Pocket -

Contains my 10' x 10'tarp (and ridge line) in a stuff sack, 2 hanks of about 100' each of 550 cord, a flashlight and the Petroleum Jelly Cotton Balls were just thrown in at the last minute. The plan here was to have my shelter stuff all in one place. The flashlight is there in case I am not wearing my head lamp I have a way to see at night to put up the shelter and the paracord is there just because that's where I put it.
Center Pocket -

This is what I have here: A Tree and wildflower guide, normally this is in my day pack but I put it here for some reason. Princeton Remix head lamp. I chose this mainly because I needed a headlamp on my deployment and this one was at the PX and didn't break the bank. It has a Bright white LED and 3 smaller red LEDs for tactical purposes. Also there are two light modes for each set of LEDs a high beam and allow beam setting. Total cost was less than $40. This also is normally on me in a pocket or in the day bag so I can get to it quickly if I need it. Next is the Eton Microlink FR160 Radio. A comfort item for the most part but it does have on important use and it's pretty light to carry. In addition to being an AM/FM radio that charges via hand crank or solar cell this little beauty has 7 weather band stations. It can also provide a charge for a cell phone via a USB port but I haven't tried this so I can not attest to how well it works in this capacity. Finally my platy pus gravity water filter. I bought this on the recommendations of the American Grouch, whose blog can be found in my side bar. He is a man that, although I only know him via email and forums has quickly become a trusted mentor to me. I respect his opinion on gear and other outdoorsman topics as he has "been there and done that". The filter works great, better than expected. When the Katydine filter in our BWCA cabin failed we used mine to filter our drinking water for the four of us. It filters 4L of water in about 3 minutes tops. It is as easy as filling the bag marked "Dirty", hanging it up, opening a valve and collecting water in the bag marked "Clean".
Left Pocket -

Ok, this is kind my stove pocket. In it I have a Crusader Cup and Cook set. This is the NATO version of the GI canteen and cup so familiar to many outdoorsman. It has a few more items added to the kit which, I feel, makes this set up far more functional than the GI model. It has the usual plastic canteen which holds about a quart of water (I don't know how many mL or L that is, 750 mL?) and it has a plastic cup that acts as a cover. Next it has a metal canteen cup with wire handles and gradations of .25L and .50L stamped in it. on the bottom of the set, the smaller metal cup with a sort of 2 tone bare metal and blackened metal color is the stove. It is designed to burn heat tabs or fuel jells. I've found that the cans of sterno that come in a 2 pack will fit inside it nicely. It has a wire that folds back across the stove where those 2 notches you see are, this is where the metal cup sits while cooking. The items on the side are a bail that slides under the lip of the cup so it can be hung over an open fire and a lid . It is a nice set up, however it's pretty heavy and bulky. There is a benefit in that I could hold water in the canteen and I can use it to collect water to be filtered if needed. Also everything nests together pretty well. It bangs around and makes quite a bit of noise so if that kind of thing gets to you (AG), then you're going to want to try something else. What I don't like is having to carry extra fuel for this, but I will need to with almost every kind of stove other than a wood gas. Speaking of which I would like to add an emberlit stove to this setup.
The last difficulty is getting a hold of one of these cooksets. They are out there but most of them come from Europe and they are not cheap, neither is shipping. I got mine from a fellow here in the states that was dumping gear for cheap, otherwise I wouldn't have bothered.
External Water Bottle pouch -

Obviously it holds my Nalgene in the main pouch. In the side pouch I added what will become my fire starting kit. Inside it right now is a Doans magnesium bar with striker and a bit of dryer lint and Petroleum Jelly Cotton Balls. On my person I carry a fixed blade knife and a ferro rod an striker and I go to lengths to make sure they are always secured on me before I set off. I do plan to add some storm proof matches and a striker to this kit and probably a bic lighter to be sure. I haven't sanded off the paint because it's pretty bright as is and I can see it well on the ground. Last thing I need is to pack up and set off and forget my fire kit in the grass.
Inside the pack itself -

Not a ton of room inside, but enough. The trip that this was packed for was for 6 days. I packed like I would be sleeping outdoors even though we had a cabin. The blue compression bag at the top is my clothes: A lightweight long sleeve shirt, 3-4 tee shirts, sweat pants, a fleece jacket, BDU style pants, socks and underwear and an extra pair of cargo shorts. The black compression bag at the bottom is my Military Sleep System (MSS). I have the patrol bag and bivy inside. I left the cold weather bag at home. Upper left OD blob is an insect headnet, very handy in Northern Minnesota in the summer, Black Flies and Mosquitoes can be down right demoralizing. Rolled up in the middle is my woobie, aka Poncho liner. It is a synthetic quilted blanket and probably the most favored piece of field gear that any Soldier has. The axe is a Gransfor Brucks Wildlife Hatchet. Like I said before there isn't any food packed in this set up and that means I need to figure out how I'm bringing it before I try a solo or some weekend trips. Though with the reduced amount of clothes that room could be made up with food stuffs.
So that was my rucksack. This post has gone on long enough so I will save the Finn bag and First aid kit for another post. Thanks for checking it out and please leave a comment if you have any questions. I'll be glad to tell you more.
I always like to see what others are using gear wise. Interesting that you choose the NATO canteen setup over the US one. I'm still partial to my canteen, cup and stove with triox tabs :)
ReplyDeleteLooking forward to further installments!
Thanks Gurthy. It was really just to see how they were different. If i had a heat tab stove for my canteen cups I probably wouldn't have gone the Crusader cup route. Though with the additional plastic cup I can drink something while water is boiling in the metal cup.
ReplyDeleteLooks like you are quite ready for an outdoor adventure! And I do agree with your point about the kits as a personal choice. It is up to the user what kind of gear he wants. Some opt for lightweight materials, whereas others stick to the original military type. The way to go here is to choose the one you know the most and the one that also fits your budget. [Kisha Kitchens]
ReplyDelete