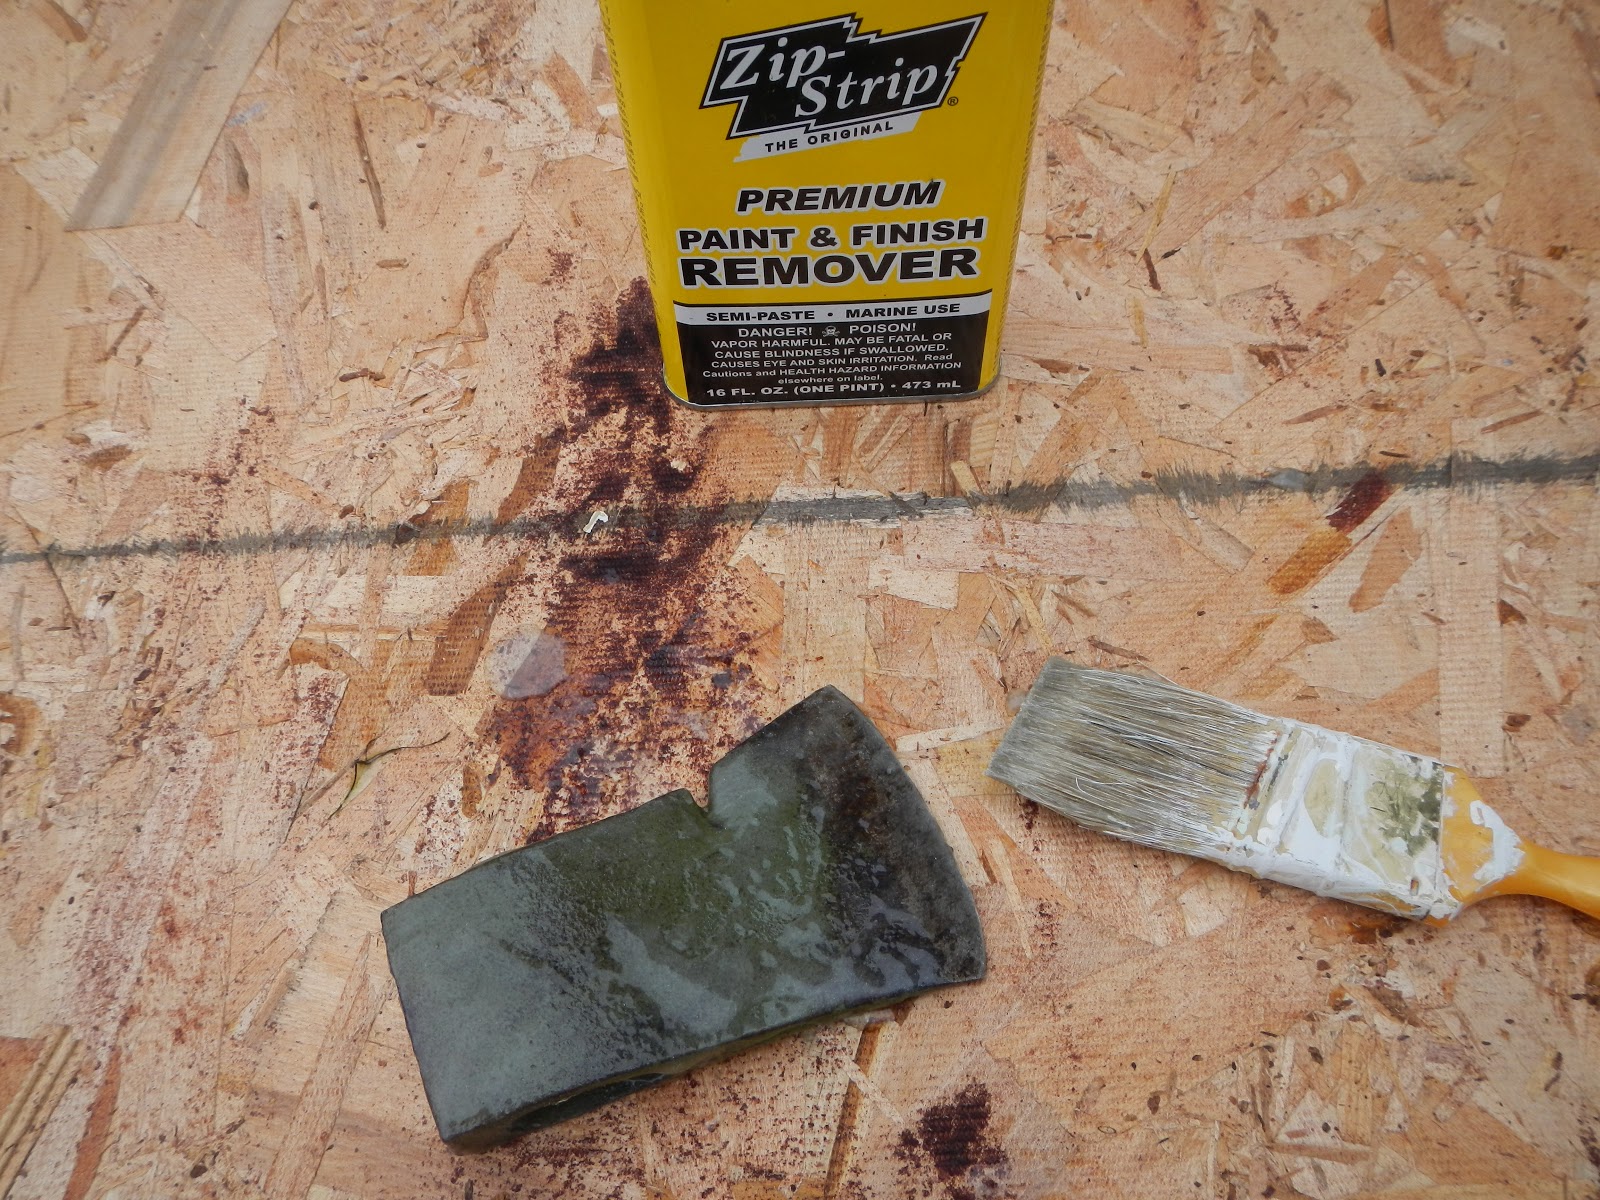
Once home I applied a good thick coat of zip strip to the head and let it sit for a few minutes. This is powerful stuff. The can clearly states it is poison so be careful and read the can before using. I used the stuff outside and wore rubber kitchen gloves during the whole process.
Next step was to give it a good brushing with a stiff wire brush. Pretty straightforward, i was a little surprised at the dark gray color of the metal underneath the OD paint. In fact I kept brushing it for quite a while not thinking the zip strip was working. I rinsed it off quick and here is the result, obviously it worked.

Got a little in to the work at this point and forgot to photograph a few steps. Here is the axe with the handle on, the wedge hammerd in with a rubber mallet and I sawed off the excess.


The last shot is looking down the eye. Everything looks tight to me and the head doesn't move. Being this is my first refurbish I am worried if I did it right or if there is more I should do I have a metal wedge I could pound in crosswise into the wedge if needed but I am not sure I need to. Any tips or advice?
Sorry folks, I thought I did the follow up on this project. I brought the hatchet up to the cabin this summer on our first trip up. I showed it to my stepfather and he didn't recognize it. I asked him where he wanted it and he was shocked. It was really surprising and touching to him that I was giving it back. It made me fell really good to be able to give something back to a guy who has done so much for me.
ReplyDeleteIf there is someone who has been a mentor to you or had a great significant impact on your life, please, take the moments to thank them in some way.
See you outside!